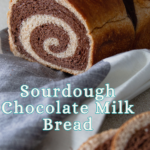
Sourdough Chocolate Milk Bread
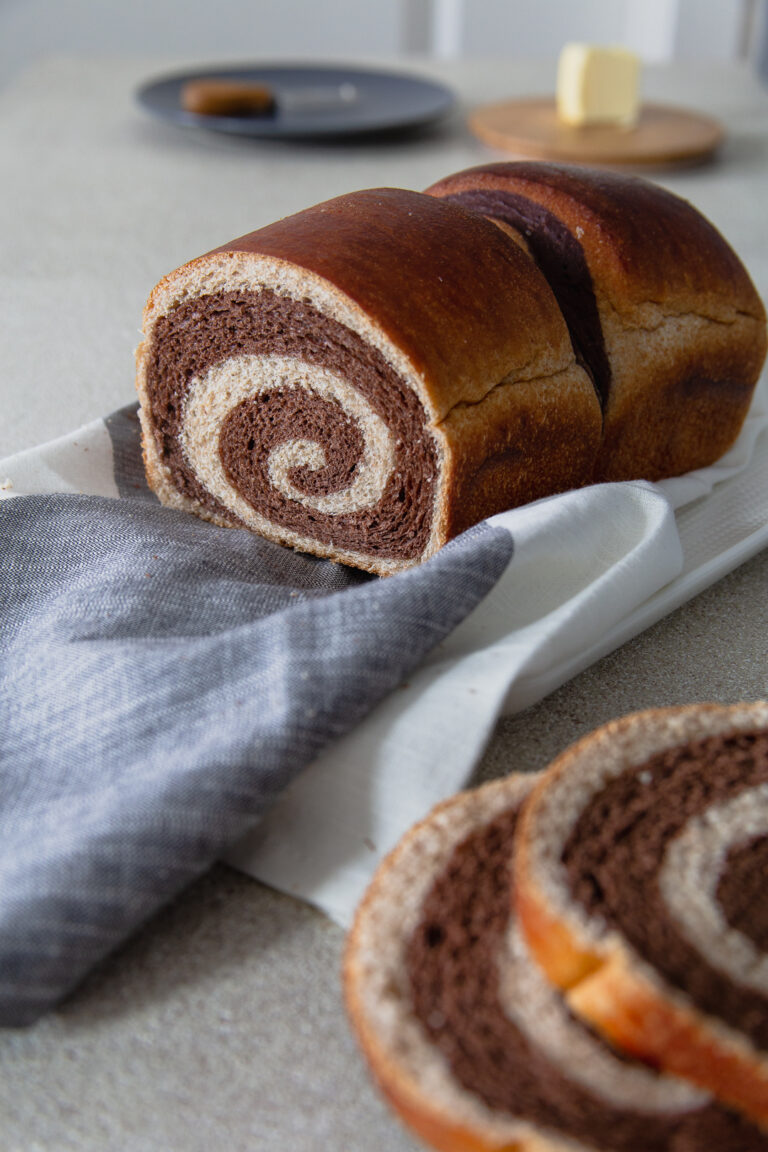
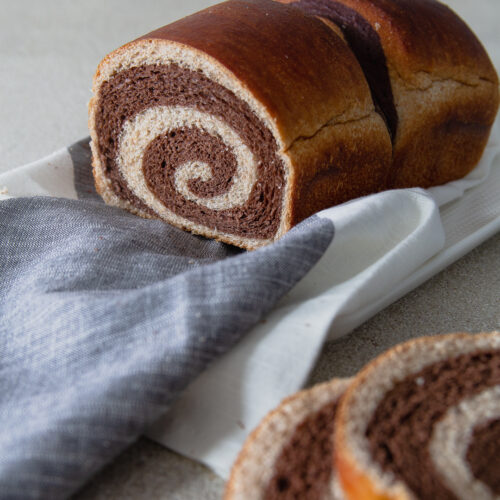
Making this Sourdough Chocolate milk bread, is equal parts fascinating and adrenaline inducing. This is all to say, that slicing a loaf and taking a look at that beautiful swirl that came from your own hands?? Priceless. Take a look at the video for the shaping process!
Equipment
- Bread pan 8 1/2" x 4 1/2"
Ingredients
Levain "off-shoot of your sourdough starter"
- 58g 100% hydrated active sourdough starter
- 94g milk at room temperature (any milk will do)
- 170g bread flour (ap flour ok)
Milk Dough
- ½ levain
- 210g bread flour (ap flour ok)
- 210g ap flour
- 60g granulated sugar
- 4 egg whites
- 215g milk at room temperature (any milk will do)
Chocolate Milk Dough
- ½ levain
- 315g ap flour
- 138g cocoa powder (any kind but dark or black makes a more intense dough)
- 70g granulated sugar
- 4 egg whites
- 215g milk room temperature (any milk will do)
After Autolyze " resting period"
- 7g sea salt (for one dough)
- 52g unsalted butter melted (for one dough)
Instructions
Day One, Evening: "making the levain"
- Mix your starter, milk, and flour together - it will appear like you have too much flour but this is ok! You will end with a firm ball, transfer to a bowl and cover well.
- Place in a draft-free spot overnight.
Day Two, Evening
- Your levain will have gloriously puffed up! Use your scale to split the levain in half, or take two large bowls and a tablespoon at a time, split between the two bowls.
Milk Bread Dough
- Add all the ingredients except the salt and butter to your levain. You can choose to use a whole egg if you’d like to avoid the hassle but it will be more of a brioche. I’ve found that egg white allows for a fluffier bread!
- Mix well and set aside to autolyze/rest for 30 minutes.
- Transfer the wet dough to your stand mixer, add the melted butter and salt.
- Set the mixer on medium speed and mix for about 14 minutes. Check the dough every 4 to 5 minutes to make sure the motor doesn’t overheat but relax -take a seat!
- At 14 minutes the dough should be gathering around the hook and be very pliable. Pinch the dough and stretch it out, it should not tear. *See notes above if you see something different.
- Put back in a lightly greased bowl, cover with a towel and let rise at room temperature for two hours.
- *** Repeat steps 1- 6 for the Chocolate Milk Bread Dough
Folding
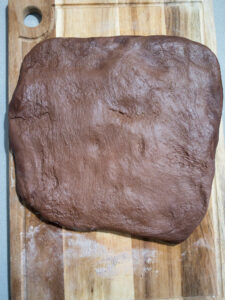
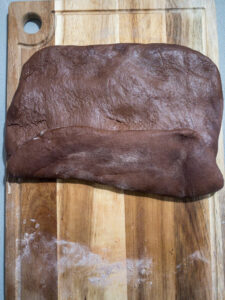
- At the end of two hours, take each dough and pat down on a lightly floured surface, getting rid of any bubble pockets.

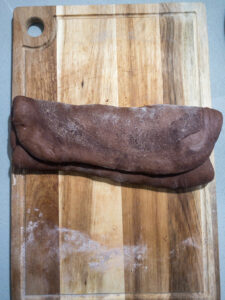
- Once you have a sort of oblong shape, pick up one of the long sides (left or right) and fold it ⅓ over the dough.
- The second fold, take the opposite end (left or right) and fold it ⅓ over the dough as you did above!
- Third fold, take the short side (top or bottom) and fold it down ⅓ of the way.
- Final fold, take the other short side (top or bottom) and fold it over the other folds. You would have made a square!
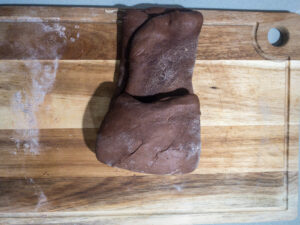
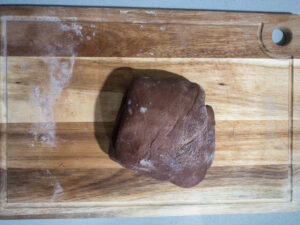
- Place the dough back in the greased bowl, cover and chill in the fridge overnight.
Day Three, Morning
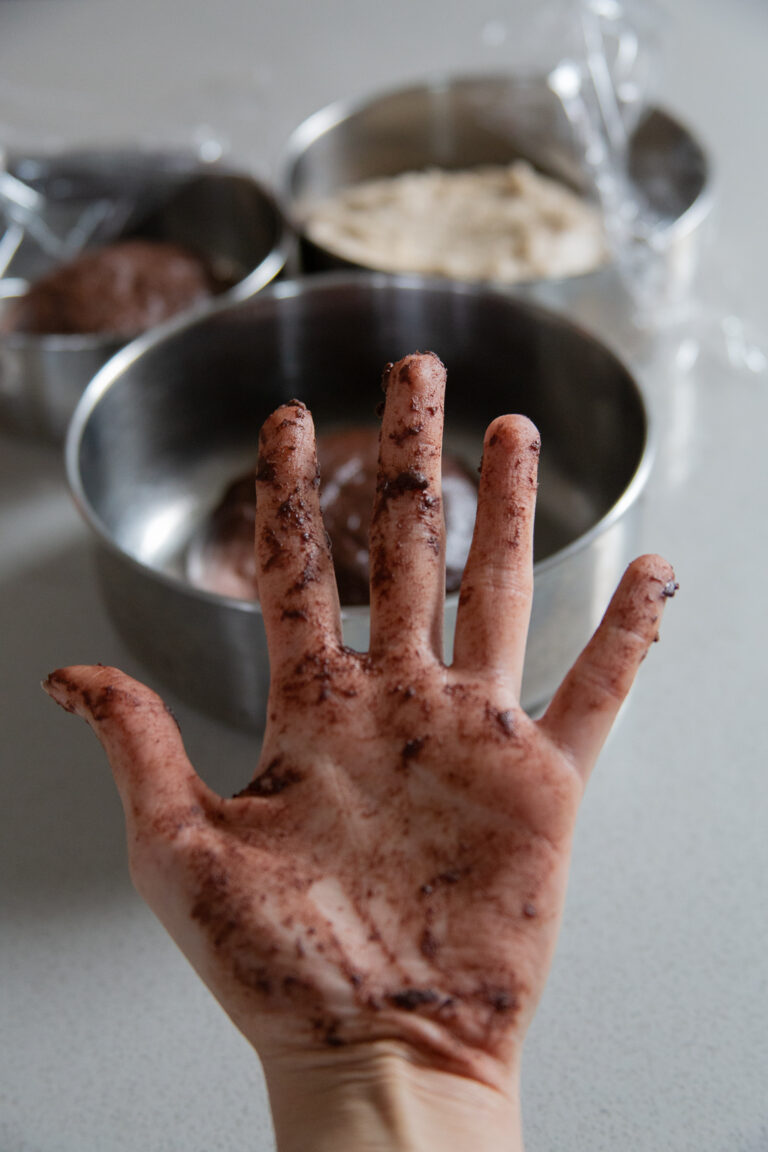
- Remove from the refrigerator and divide each dough into 4 pieces, leaving you with 8 pieces total. Use your scale to equally divide if you can!
- Use a clean floured surface and roll each piece into a long rectangle.
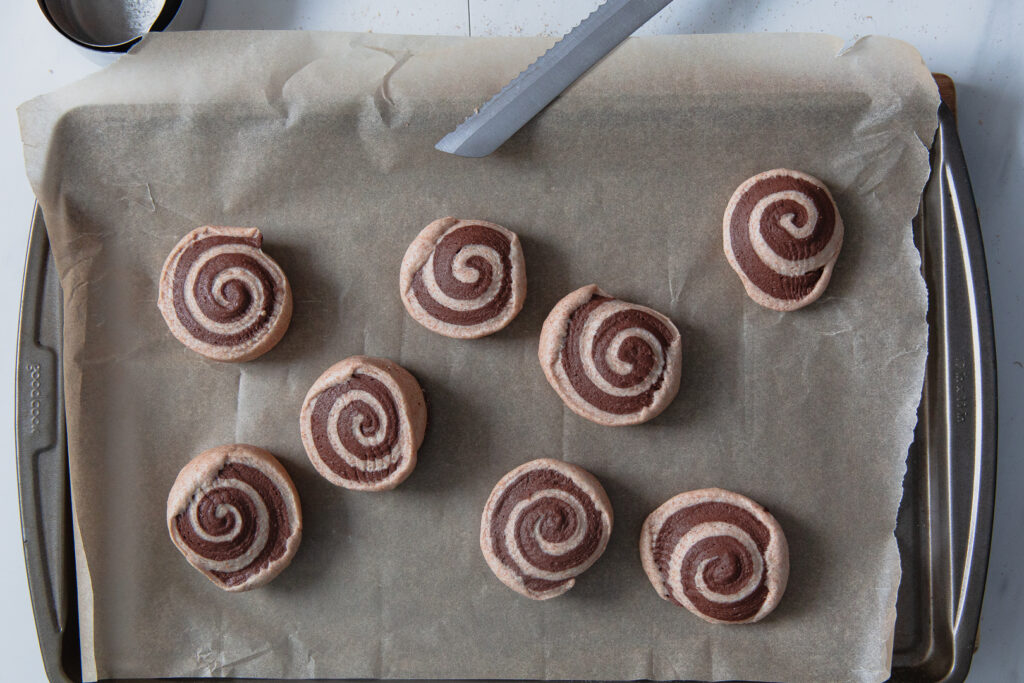
- Spray or use your fingers to *lightly* dab water on the top sides of the plain milk dough rectangles and place the chocolate dough evenly on top. Dampen the tops of the chocolate rectangles as well, and flatten once more with the rolling pin to elongate the rectangle. Then starting from the short end, roll it up tightly until a log is formed. ** See video above in notes.
- With a serrated knife, saw the ends off. * See notes above about scraps.
- Place two logs in your buttered or lined loaf pans, and let rise for 4-6 hours or until the dough has tripled. * See notes above about proofing test.
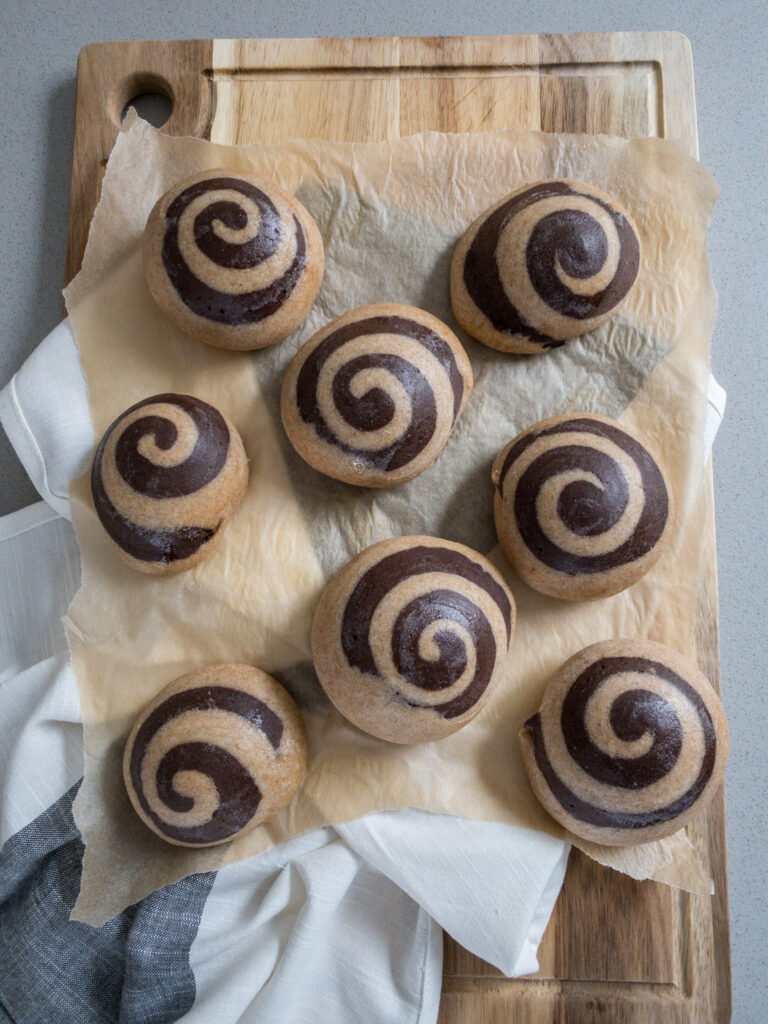
- Bake at 350° for 35 minutes.
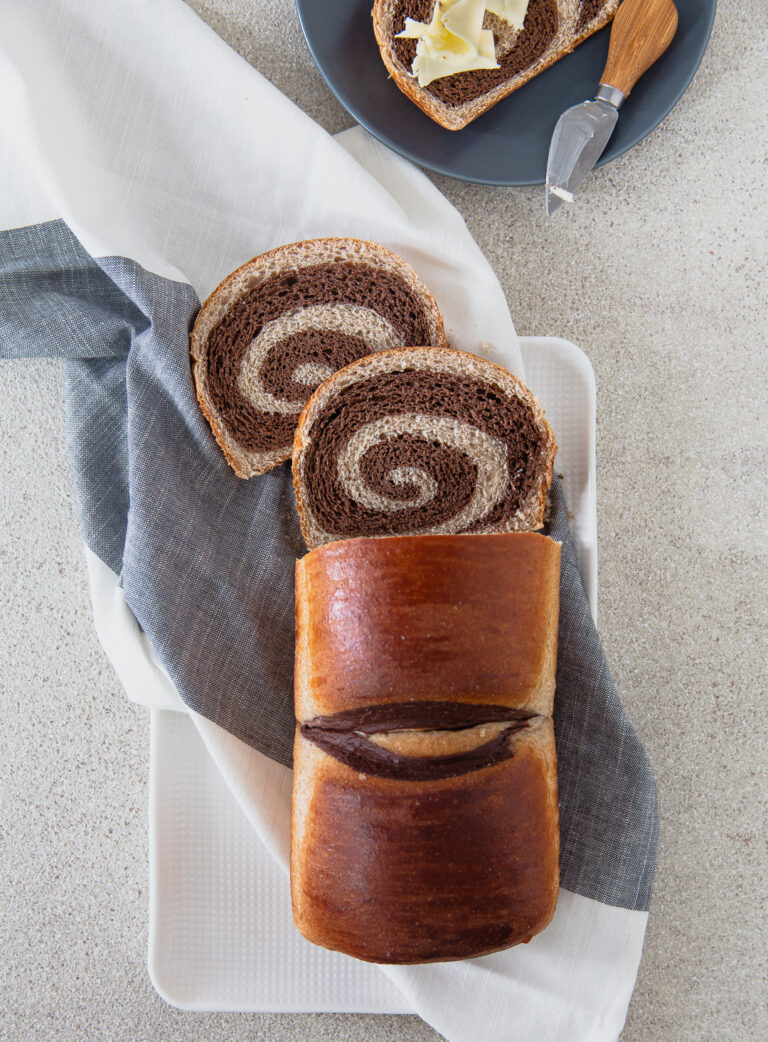
- Brush tops with butter while warm.
- Remove pan and let cool completely before slicing! Heckin' voila!

Jumbo Orange Coconut Sourdough Cinnamon Buns
Looking for a different sourdough recipe? These are nothing short of incredible!


Leave a Reply