
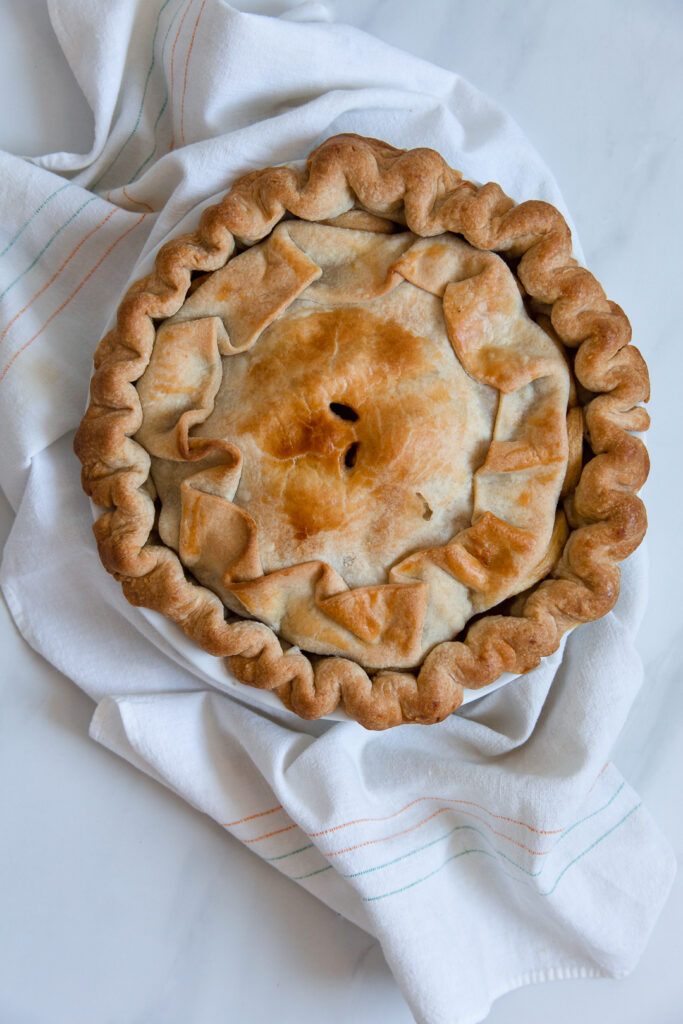
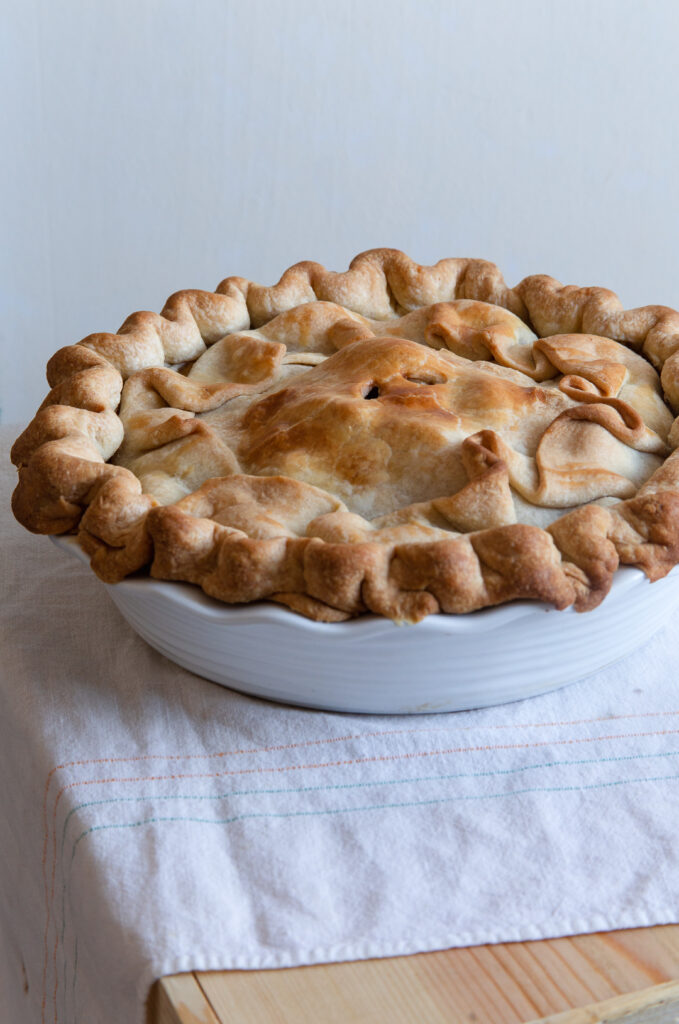
What do you get when you add a buttery flaky crust, a classic apple pie and an old fashioned whiskey? Magic
The secret to any pie is a buttery flaky crust -handmade ofc. Before you think it’s time to bow out, I’m here to tell you that I have gone through all the trials and tribulations to bring you a whiskey apple pie that is foolproof. Please trust my blood, sweat, and tears; because we can do this!
The Perfect Whiskey Apple Pie Crust
Just So You Know
I went three weeks making pie crusts and faced shrinkage, sogginess, chewiness -all the things that a buttery flaky crust is not. Forgive me, the steps seem lengthy, but I made sure to include every single thing so that no one else suffers as I did! I want us charging into that kitchen with our rolling pins blazing!
Vinegar In Your Pie Crust
Most recipes for pie dough are the same, a mixture of water, fat, and flour. The flavor is reduced to your choice of filling. However, in some older recipes, pastry chefs swear by using vinegar in the liquids. The science is iffy but it is said that it inhibits gluten from forming and therefore creates a flakier pie crust. My reasoning is more simple, I like the flavor it imparts in the crust, and to emphasize it –I like to add a bit of brown sugar that also adds beautiful color to our Whiskey Apple Pie.
Whether you choose to use or skip the vinegar, the one thing that is non-negotiable: liquids must be ice-cold.
Chill Your Pie Dough
Most problems that you run into making pie crust can be fixed by chilling the dough. Not only does it make it easier to handle, but it also bakes up flakier. If in doubt, chill. Here are other times where you must chill the dough:
After Mixing: The butter has softened from mixing, and if it melts, you will have a chewier texture. Chilling will solidify the butter and when you start rolling it out, create those pockets of flaky crust.
Before Crimping: Chilling the dough after rolling it out onto the pie plate, will help it relax and reduce the chances of shrinking. It is especially helpful to have those pie edges firm up when you start crimping, and it will hold its shape better!
Before Baking: Chilling at this point is necessary again to firm up the fat in the crust. Chilling the dough will also help crimping stay sharp. The minimum chill is 15min, and max one hour.
Finally, let me emphasize chilling and NOT freezing. Freezing the dough can mess with the fat in the dough. If it is baked from frozen, the butter will take longer to melt and delay the flaky effect. It can also lead to butter melting out of the crust and make for a tough greasy whiskey apple pie.
Is Your Pie Dough Too Wet?
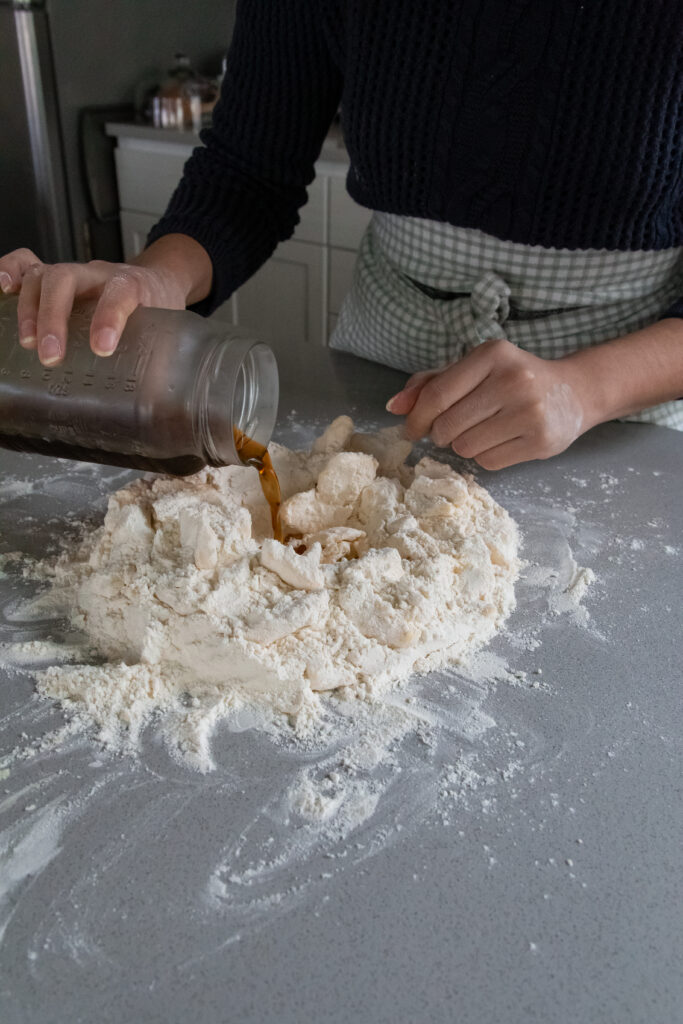
After making pie dough consistently, I found the correct ratio of water to flour for the pie crust –however sometimes what I thought was perfect, was then too sticky or dry when I tried to roll out. Here is how to fix it:
Too Sticky – You want to incorporate more flour to soak up the excess water in the dough. Start by dusting the disk with flour and using more on the surface while rolling. Once it is perfect, use as little flour as possible.
Too Dry – Flatten the dough with your hands to ½ inch. Wet your hands with ice-cold water and flick a few drops of water on top – fold in half, then in half again until the water is incorporated. Chill for at least 30 minutes before handling again.
How To Have An Extra Flaky Crust
There are two reasons why you should fold your pie dough, 1) it makes an extra flaky crust, and 2) it makes the dough smoother and easier to roll out and handle.
I kept having the most difficult time rolling out pie crust, either because I was too slow and the chunks of butter would begin to melt or because it was too scraggly for me to roll out effectively. I owe my entire pie confidence to lamination!
- After mixing and chilling the dough, roll the dough to about ¼ inch making a long rectangle. Fold in half, and then in half again. Chill for 3o minutes and repeat the process two more times. You will notice the dough is smoother! Pinch the corners to make a rounder shape after the last fold.
How To Crimp Your Pie Crust
Everyone’s crimping style is as unique as your signature – eventually, one style will feel more natural over another. But if you’re still experimenting, this is what I do:
Make the dough with me!
The Perfect Pie Filling - Just So You Know
Fruit filling consistency can be difficult to get right. So many pies suffer when the filling is too wet, and then the crust becomes soggy. Check out my cheat sheet below to always get it right!
Reduce your fruit filling
When fruit is roasted and simmered, water begins to evaporate leaving a thickened syrup as it cooks.
When this mixture is cooled, it is exactly how the mixture will remain even after it is baked. Too wet? Continue cooking to reduce further. Too dry? Mash additional fresh fruit to make it juicy.
Using Thickeners in your fruit filling
Cornstarch, and flour can be added to a fruit filling before and during a bake. The only thing that matters, is that it is properly cooked so that it thickens and melts off the powdery flavor.
To avoid a runny bake, the fruit filling with the thickener must have come to a boil. Either you see it bubble on the stovetop or it will come to a boil when bake is especially long in the oven.
The Whole Fruit & Nothing but the Whole Fruit
Pureeing or mashing a fruit whole with seeds and peel intact is a great way of thickening a filling naturally.
How thick the filling is after a puree is dependent on the specific fruit’s fiber. If you find that it is not enough, then you may need to reduce or add a thickener.
Flaky Butter Pie Crust
Ingredients
Pie Elixir
- ¼ cup brown sugar (50g)
- 1 tbsp apple cider vinegar
- 1½ tsp sea salt
- ¾ cup hot water
Dough
- 4 cups ap flour (500g)
- 3 sticks unsallted butter (339g)
Instructions
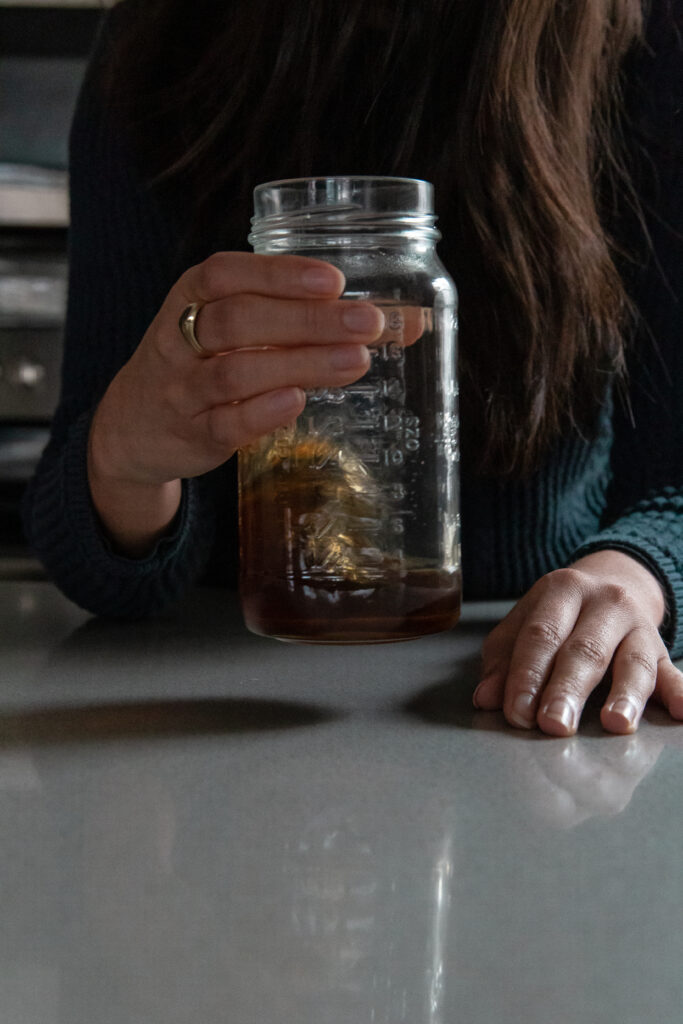
Magic Pie Elixir
- In a heatproof glass, combine the brown sugar, vinegar and sea salt. Add the hot water and stir to dissolve the sugars. Chill the elixir in the freezer until very cold. In the meantime, we will prep the rest flour and butter.
The Dough
- In a metal/glass mixing bowl, add the flour and chop the butter in ½ inch cubes. Give it a quick fluff with your fingers to cover the butter in flour, and chill in the fridge untill the elixir is chilled and ready to go for the next step.
- Take out the bowl, and pinch the butter in between your fingers to smear the large chunks into the flour. Once all the butter has been pinched, create a well in the center of the flour. Grab the cold elixir from the fridge and pour half of the liquid into the well.
- Spread your fingers wide to gather and toss the flour with the liquid. Do it thoroughly before pouring the rest of the liquid into the shaggy dough. If it helps to dump the mixture onto the counter, please do so!
- Continue gathering and tossing, once the elixir is well incorporated you can start squeezing and pressing everything together until it gathers into a mass. If you believe you need more liquid, read above in my notes!
- Wrap well in plastic and chill in the fridge for 30 minutes.
Folding
- Lightly flour your surface and a rolling pin, and take out the dough for its first fold. Press down with even pressure and forcefully roll out the dough lengthwise to about ¼ inch thick. Then fold the dough in half, then in half again creating quarters.
- Refrigerate the dough for another 30 minutes. Repeat this process another two times. After the final fold, tuck the edges of the dough to create a more round disk rather than a square. Now chill for a minimum of 30 min to 1 hour.
Rolling & Crimping
- Take out the pie dough and divide in half, leave one in the fridge while you work on the other. Roll out the pie dough till it is ⅛ to ½ inch thick. Don’t worry about the size, I’ve made sure to be generous so that you have room for error!
- Transfer the pie dough to the plate and carefully lift the edges so that the dough gently falls into the pie plate. Carefully, without stretching or pulling, press the dough into the sides and bottom of the pie plate. Grab your scissors and cut any excess, leaving 2-3 inches of overhang.
- Now cover with plastic wrap and chill in the fridge while you work on your filling.
- Take out the pie plate and prep the edges for crimping. Everyone has a different method, but Instead of tucking the edges under themselves, I like to lift the edge and fold so that it stands on the pie plate.
- Then I crimp by using my thumb and index finger on my non-dominant hand to make a v-shape from inside of the plate. Use Then use my thumb on my dominant hand to push inward towards the v-shape. The size of your V from your non-dominant hand will determine the size of the crimp.
- If you’re making a double-crust pie, (a le my style) you will put your pie plate back in the fridge and take out the remaining pie dough. You will probably only need half to create the top.
- Roll out the disk till it is ⅛ inch thick, and using a metal/glass mixing bowl cut out the dough so that you have a perfect circle - about 1-2 inches bigger than your pie plate. Chill the disk in the fridge until it firms up. You can fill in your pie plate with your filling while you wait.
Top Crust
- Place the disk on top of your pie, and fold the edges over and scrunch to create wavy folds.
- Preheat your oven to 375° f and move the rack to the bottom third of the oven (this is crucial, don't forget). Chill the pie while the oven preheats, it must be very cold and firm.
- Finish the crust with egg wash, avoiding the crimping (as to not overbrown): 1 egg & 1 tbs water. And use a knife to create 2-3 small vents in the center. Bake your pie on a baking sheet to catch any dripping, and bake for 55 minutes.
- Set on a cooling rack to cool completely before diving in.
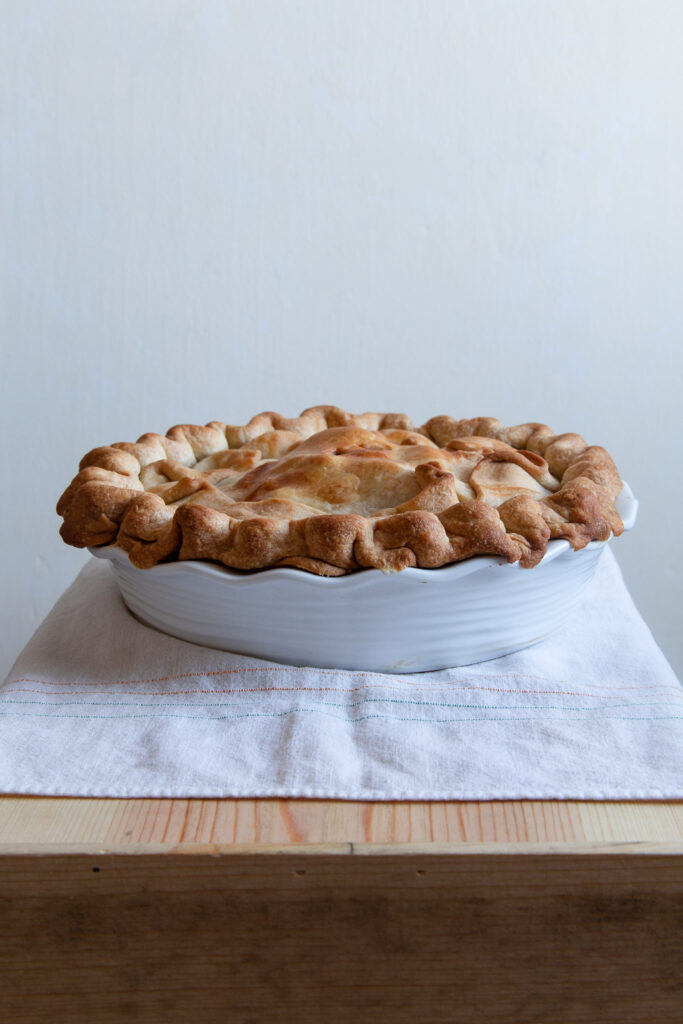
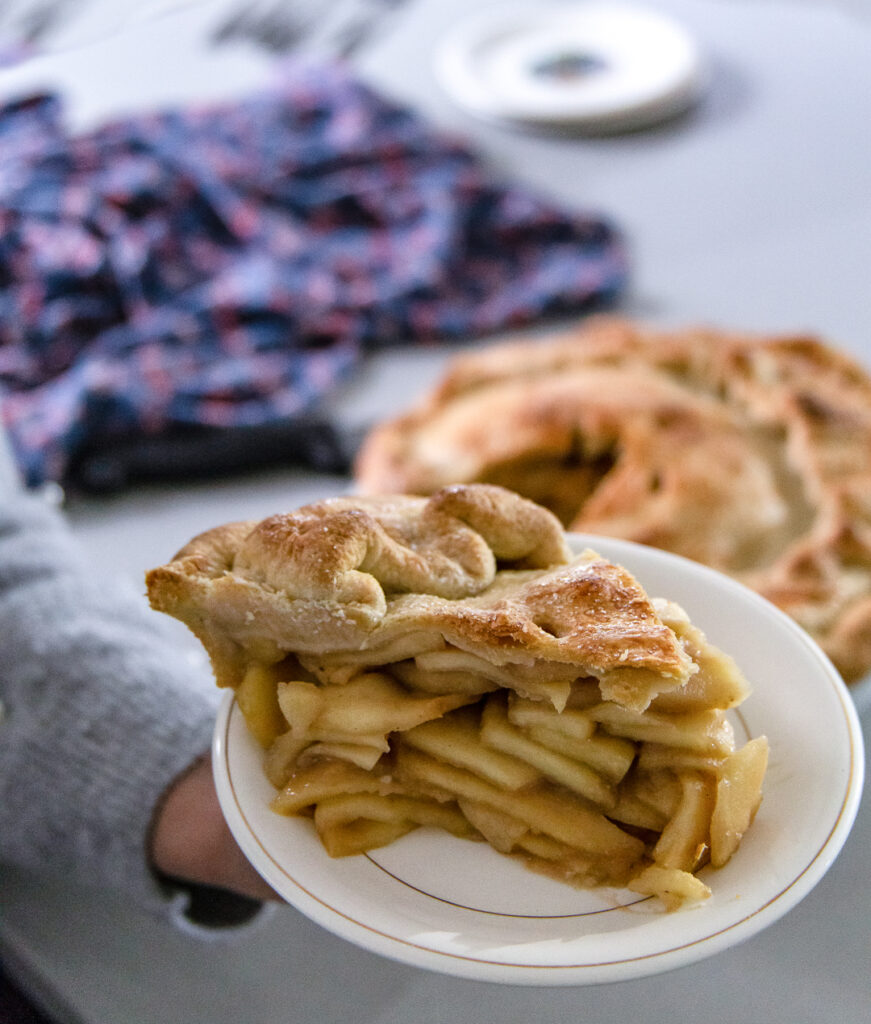
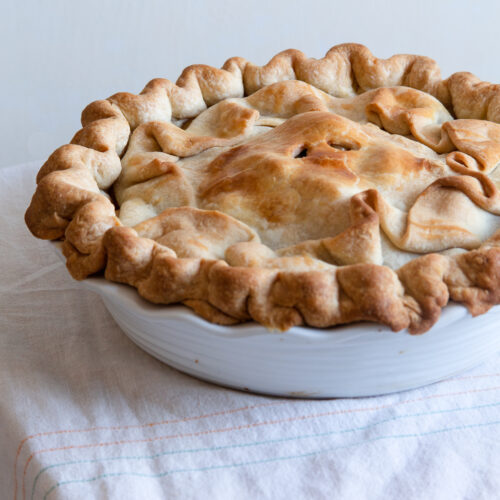
- Voila! That looks like a perfect pie!
Notes


Whiskey Apple Pie
Ingredients
- 4 tbsp unsalted butter (56g)
- 6 medium apples, peeled & sliced (750g)
- 2 tbs lemon juice
- 1 cup dark brown sugar (212g)
- 2 tsp ground cinnamon
- ¾ tsp sea salt
- 2 tsp vanilla extract (10g)
- ⅓ cup granulated sugar (67g)
- ¼ cup ap flour (30g)
- 2 tbsp whiskey or bourbon (more to taste)
Instructions
- In a medium pot, melt the butter and add the apple slices. Stir in the dark brown sugar, lemon juice, vanilla, cinnamon, and salt.
- Cook for 3-5 minutes, stirring occasionally. In a small bowl, combine sugar and ap flour. Sprinkle this mixture over the apples and stir well until the mixture thickens - about 2-3 minutes.
- If the mixture hasn’t thickened add ½ a tbs of flour at a time. Take off the pot from the heat, and fold in the 2 tbs of whiskey
- Spread the mixture over a baking sheet to cool completely before assembling the pie. Prioritize using all thr slices before adding any of the brown sugary syrup.

Looking for a different recipe?
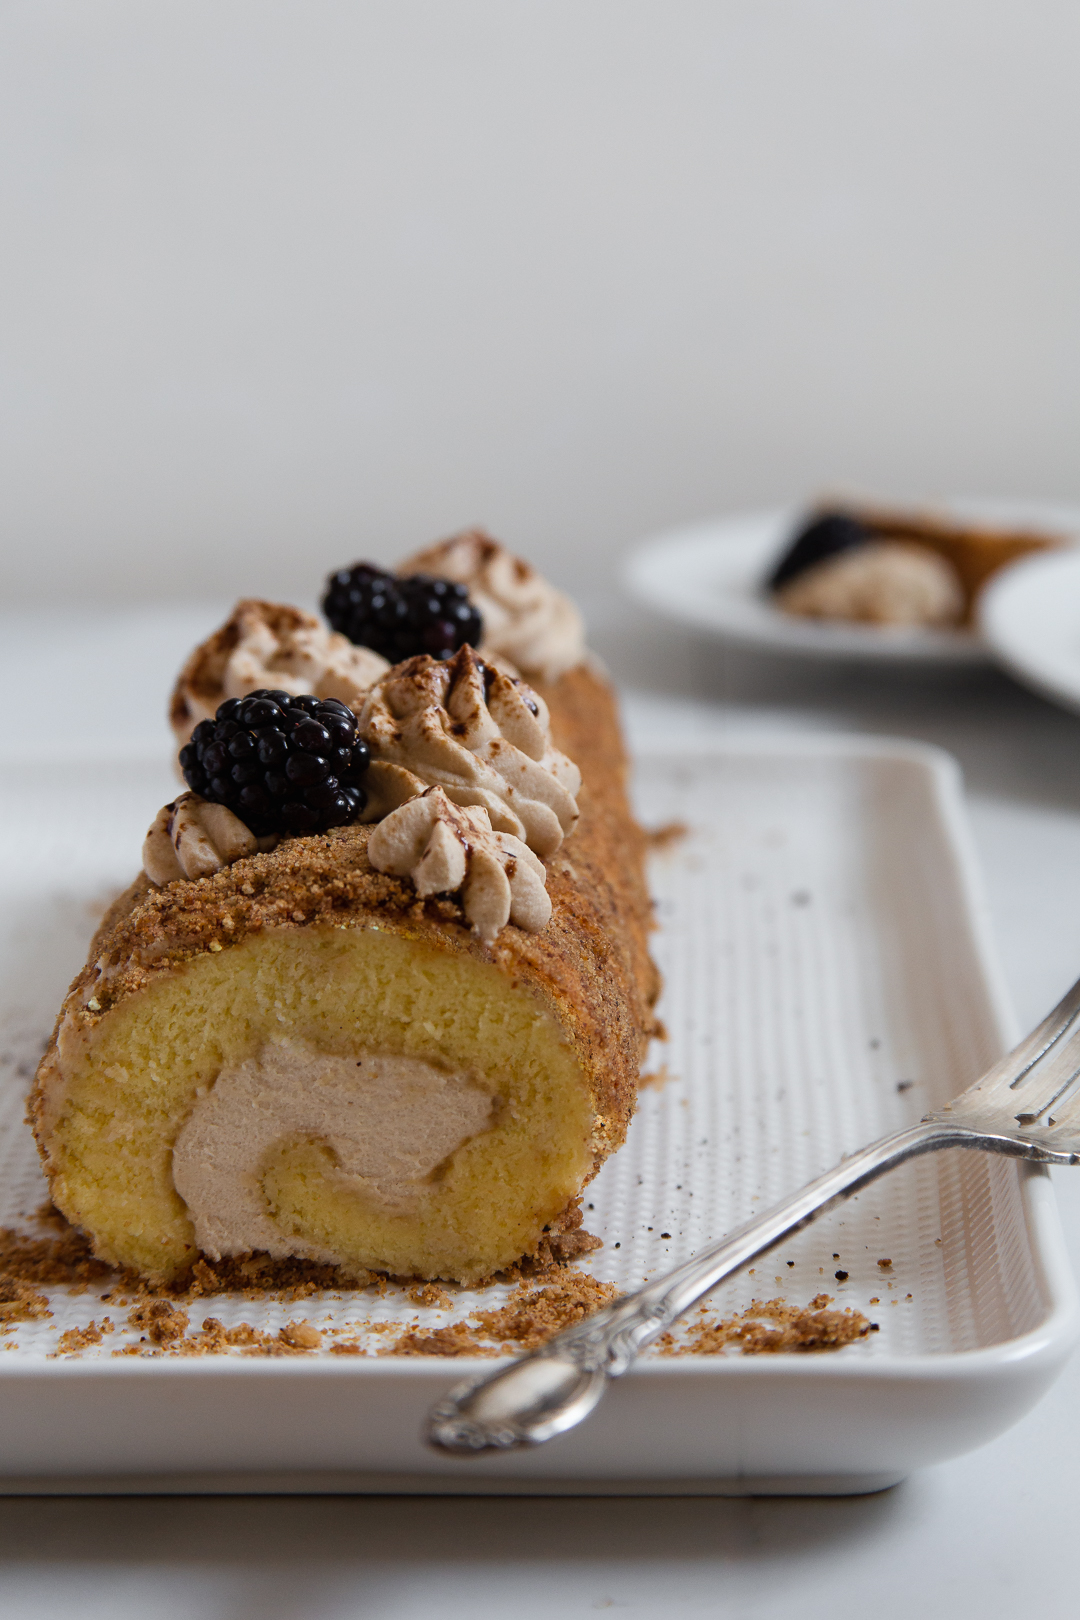
Try this fluffy chiffon cake rolled in a pretty swirl of fresh cream. I took it a step further and made a coffee vanilla swiss roll with chiffon, coffee cream and covered in toasted almonds

Recent Comments