• Home
  • Recipe developer, who?
  • Recipes
  • Blog
  • Client Inquiry Form
    • Email
    • Instagram
    • Pinterest

Reggiebenji

Home Baking For Fruit Lovers

Miso Rye Chocolate Cookies with Coconut

March 29, 2021 by Reggie Leave a Comment

Nothing better than chewy miso rye chocolate cookies with a perfect balance of sweetness and saltines coming from the miso. Oof, enough said.

Miso Rye chocolate cookies-7

What Is Recipe Testing Anyway??

The first test of miso rye chocolate cookies was a quick batch I had whipped up for a family friend by taking a classic chocolate chip cookie recipe and subbing for the items I had in my pantry. This girl had a lot of rye flour and miso.

The cookies were great, but they felt like they were only the beginning of something better. So how does one make a cookie recipe? Like any recipe, you take an opinion and find how ingredients and techniques can make it happen: Ingredient + Technique = Opinion.

My opinion? A chewy miso rye chocolate cookie must be rich in flavor but not too sweet or salty. Taking that magic equation from above, my mission which I did choose to accept, was to figure out how to manipulate the ingredients to get exactly that. Luckily I e-met Jesse on Instagram, a fellow food aficionado, and he tested along with me! 

Ingredients are manipulated in every way to produce a specific cookie. And as Jesse reminded me, even your choice of leavening can make a drastic difference. So how do ingredients all come together for the perfect cookie?

Miso Rye chocolate cookies-3

How To Make The Perfect Chewy Cookie

Brown Sugar

Miso Rye chocolate cookies-2

Most cookie recipes require a combination of white sugar and brown sugar, but when do you know which one to use more? Brown sugar is made up of sugar cane molasses which attracts more moisture and keeps cookies moist – this is ideal for chewy cookies. Moreover, brown sugar is acidic and can speed gluten formation and egg protein coagulation. In short, this means that the cookie dough is going to set quicker and create a thick and tender cookie. However, white sugar evaporates water and creates a crispy cookie.

Texture aside, brown sugar will also add a caramelized color, which to a miso rye chocolate cookie is gorgeous!

Yolks vs. Egg Whites

The science of eggs in a condensed form: Egg whites trap air, whereas yolks contribute moisture. In cookie speak, egg whites will create a thick and puffy cookie because of the aeration. Yolks will create steam affecting the gluten and make cookies that are denser and tender.

Here is where the science gets interesting, everything that I explained above is true when a recipe calls for melted butter. However, if you cream softened butter, then the opposite happens. Yolks will make a cakey cookie, and egg whites will make cookies chewy.

For every whole egg, sub two yolks.

Baking Soda & Baking Powder

We all have baking soda and baking powder in our pantries but how many of us know what it does? In this episode of cookie science, let’s learn about leavening. Leavening determines how your cookie will rise, spread, and brown. This is the line to live by: “soda spreads and powder puffs.”

In my original recipe, I had 2:1 baking soda to baking powder, but the cookie was not cakey because I would bang the pan in three intervals to force the cookie to deflate. But there was a way to feed two birds with one scone that I wasn’t seeing. Jesse tested a batch with less baking soda and the miso rye chocolate cookies spread naturally without the extra legwork.

Melted Butter or Softened Butter

Melted butter or soft butter is the new fork in the road, which one do you choose? Soft butter will incorporate air and create a finer texture that is more cake-like. Melted butter is a liquid and will hydrate the flour and boost gluten, gluten is great for a chew. Easy enough, except melted butter has a caveat: some recipes will ask that you either bake right away or chill before baking.

The melted butter cookie that is not chilled will spread more than those made with soft butter, which is perfect for people who love thin and crispy cookies. On the other hand, some of that butter will solidify when it’s chilled. The end result is a cookie with middles puffed up slightly and crispy edges. A miso rye chocolate cookie that has both chew and crisp? Hell yes.

Proper Measurement

For years everyone in my family thought we were cursed, that our cookies were destined to always look more like scones and muffin tops. But truly we were improperly measuring flour. Instead of using a scale or using the scooping method, we were packing flour by pushing the powder down with the spoon. In cookie land, this means that our cookies were taking longer to bake, and although they appeared fluffy, were super dry inside.

The reverse is also a problem, if you add too little flour your cookies will end up looking more like lace cookies.

Resting the Dough

Miso Rye chocolate cookies

“The patient bird gets the worm…” Or the patient baker gets the chewy cookie? Resting cookie dough allows the flour to absorb moisture from the eggs and the butter. Not only will the cookie dough be flavorful by absorbing that water, but they’re also going to be more tender and chewier.

A minimum of half an hour of resting time is recommended. If you’re seriously committed, I highly recommend hiding a few extra balls of dough in the fridge for at least 72 hours.

Pop Quiz

Let’s say you want to make a levain style Miso Rye Chocolate cookie – they are famously thick and chonky, what would the ingredients look like?

brown sugar 80%
whole egg 100%
baking powder 75%
soft butter 100%
flour ratio 75%
rested dough
rested dough 0%

Making a Cookie Recipe Your Own

Miso Rye chocolate cookies-5
Your Recipe, Your Perspective

I have gone over how you can manipulate ingredients to get exactly what you want, but making a cookie completely yours is the fun part. How in the world did I choose to make miso rye chocolate cookies with coconut?

I may have mentioned this before, but one of my favorite scenes in a movie is where Will Ferrel’s character confesses his love to his baker girlfriend with a box of various bags of different flours. If any of you meet my soulmate, please relay that this is my love language.

Rye flour is one of the more aromatic whole grain flours. It has a complex flavor profile that is malty and nutty, and if you pick a dark variant, the flavors are intense and the texture is denser. What kind of flour do I want for a chewy cookie that is rich? Exactly.

Miso, a Japanese invention, is made by combining soybeans, grains, and sea salt, and fermented and aged in barrels. It has an amazing ability to expand and deepen any flavors it touches. White miso in particular is buttery, sweet, and salty and best combined with other ingredients of the same texture. In western vocabulary, it gives our rye chocolate cookies umami.

So far, we know that our cookies are rich, chewy, sweet, and salty. My choice in additions must complement the depth of these flavors. In that case, I probably don’t want to add a bar of chocolate that is too sweet nor add anything that is particularly salty. Coconut chips are chewy, have a subtle sweetness, and most importantly have a nutty flavor that is perfectly paired with rye flour.

That’s enough reading, lets make these miso rye chocolate cookies!

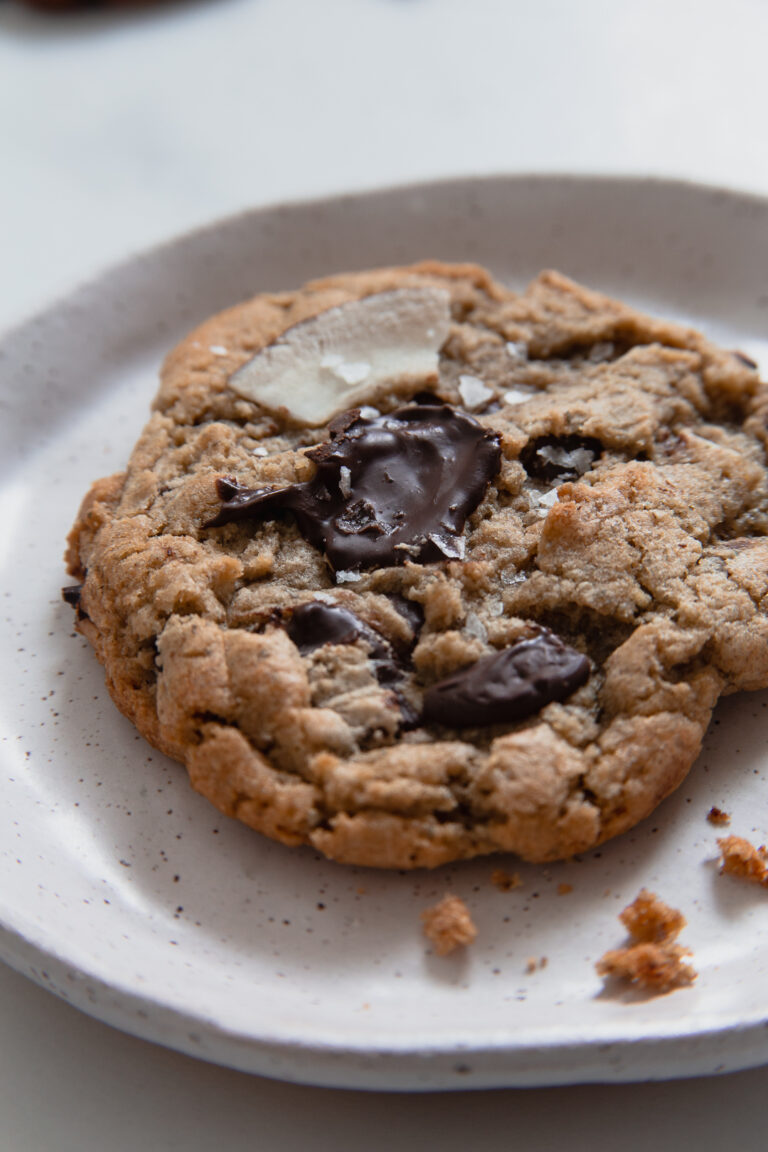
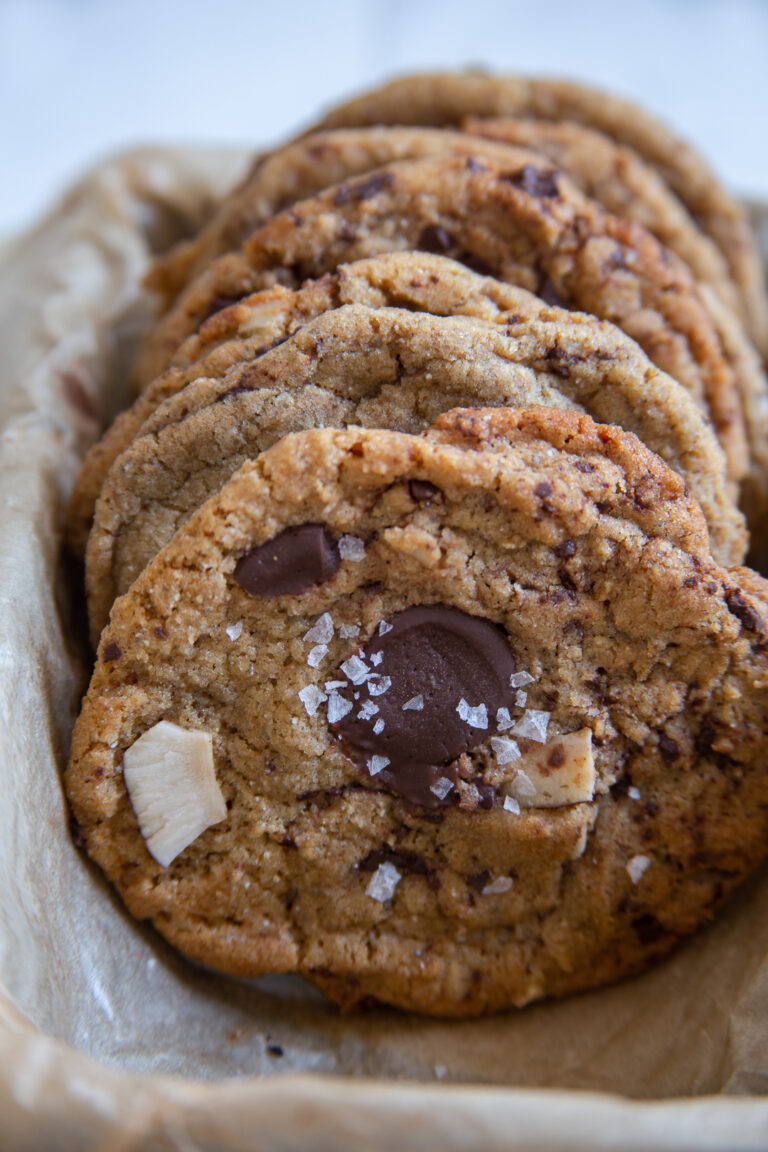
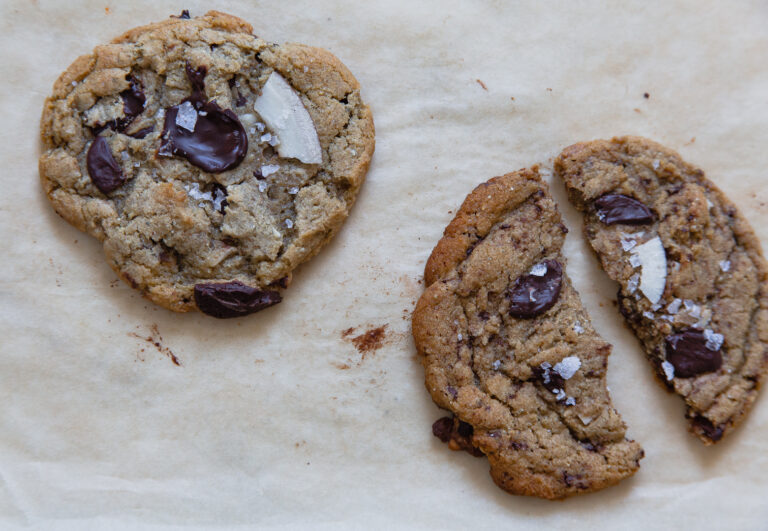
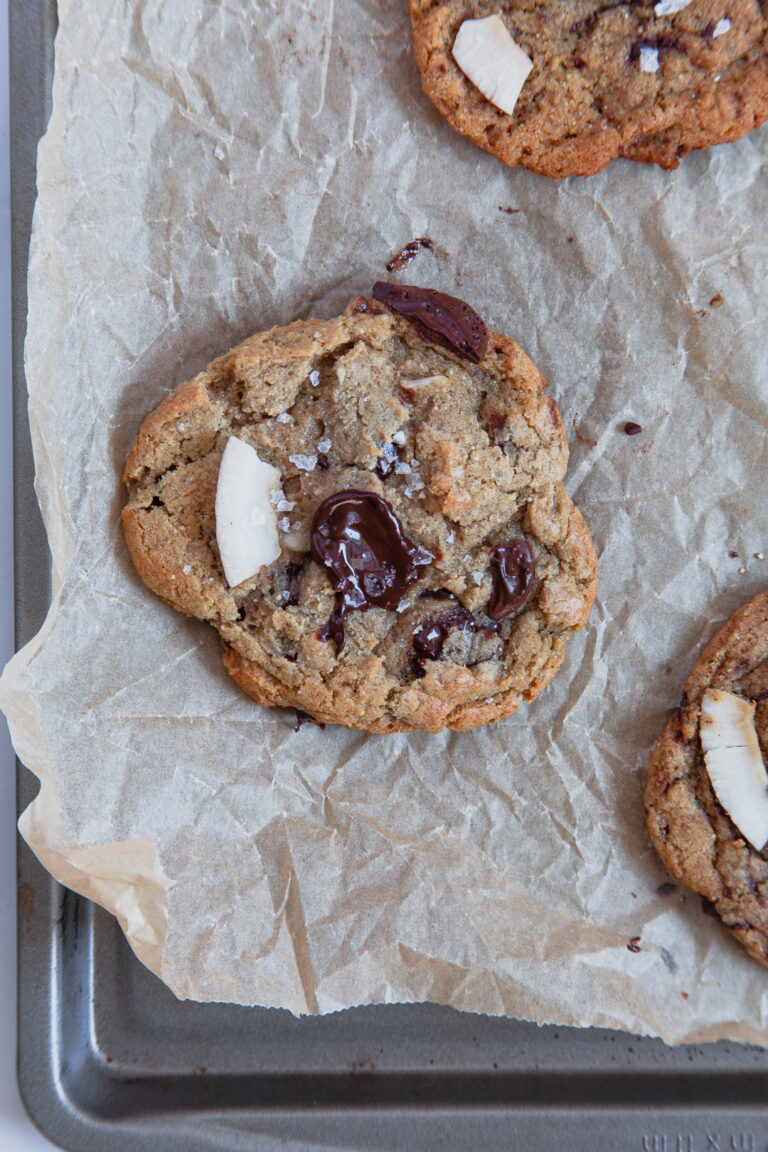
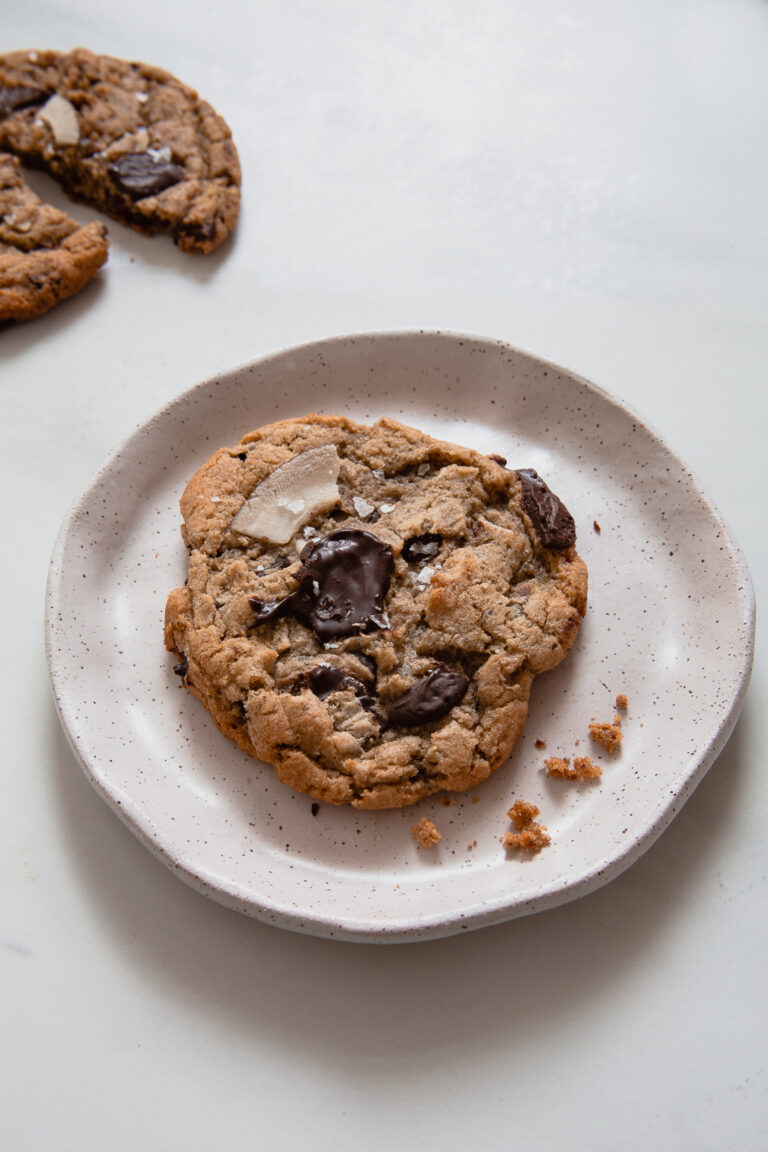
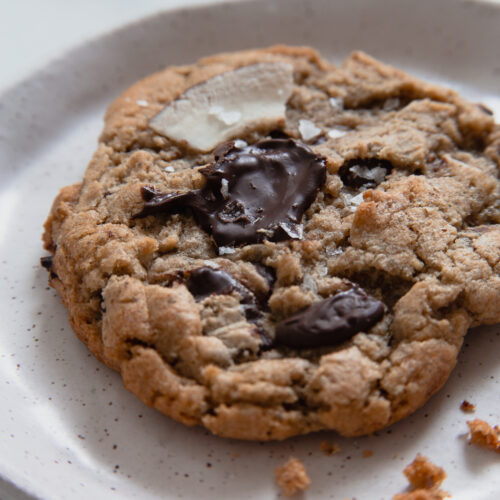
Miso Rye Chocolate Chip Cookies with Coconut

Nothing better than a chewy, rye chocolate chip cookie with a perfect balance of sweetness and saltines coming from the miso. Oof, enough said.
Print Recipe Pin Recipe
Prep Time 20 minutes mins
Cook Time 16 minutes mins
resting time 1 hour hr
Total Time 1 hour hr 36 minutes mins
Course Breakfast, Dessert, Snack
Cuisine American

Ingredients
  

  • 2 sticks  unsalted melted butter (220g)
  • 1 cup brown sugar (200g)
  • ½ cup granulated sugar (100g)
  • ¼ cup white miso paste (72g)
  • 1 tsp vanilla extract
  • 4 egg yolks
  • 1¼ cups rye flour (170g)
  • 1⅓ cup ap flour (170g)
  • ½ tsp baking soda
  • ½ tsp baking powder
  • 2 bars chopped bittersweet baking chocolate (226g)
  • 1 cup dried coconut chips
  • flaky salt (optional)

Instructions
 

  • In a bowl, combine melted butter, boths sugars, vanilla, and miso. Beat till fully combined.
  • Add egg yolks one at a time, beat well after each addition until smooth.
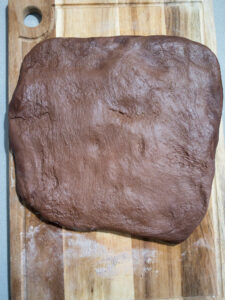
  • In a separate bowl, sift the flours, baking soda, and baking powder together.
  • Add the flour mixture to the butter mixture in batches, folding rather than stirring.
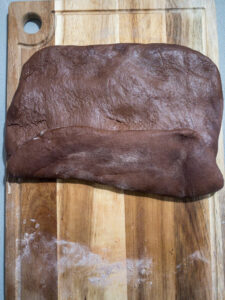
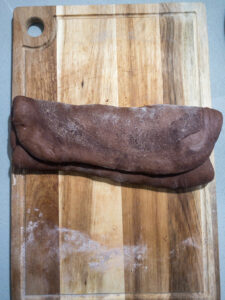
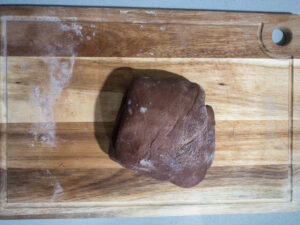
  • With some streaks of flour still visible, fold in the chopped chocolate and coconut until just combined. Throw the whole bowl in the fridge to chill for 1 hour.
  • Preheat oven to 325° f
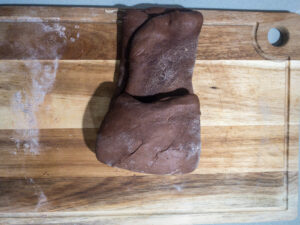
  • Using an Ice cream scoop, scoop out about 24 cookies. Chill while the oven finishes preheating.
  • About 4-6 per baking sheet (they are large and will spread out). Bake for 14-16 min till the edges are slightly golden.
  • Let them cool completely on a wirerack before diving in. Sooner if you prefer them doughy!
Keyword chocolate chip cookies, coconut, miso, rye flour

Want a different cookie recipe?

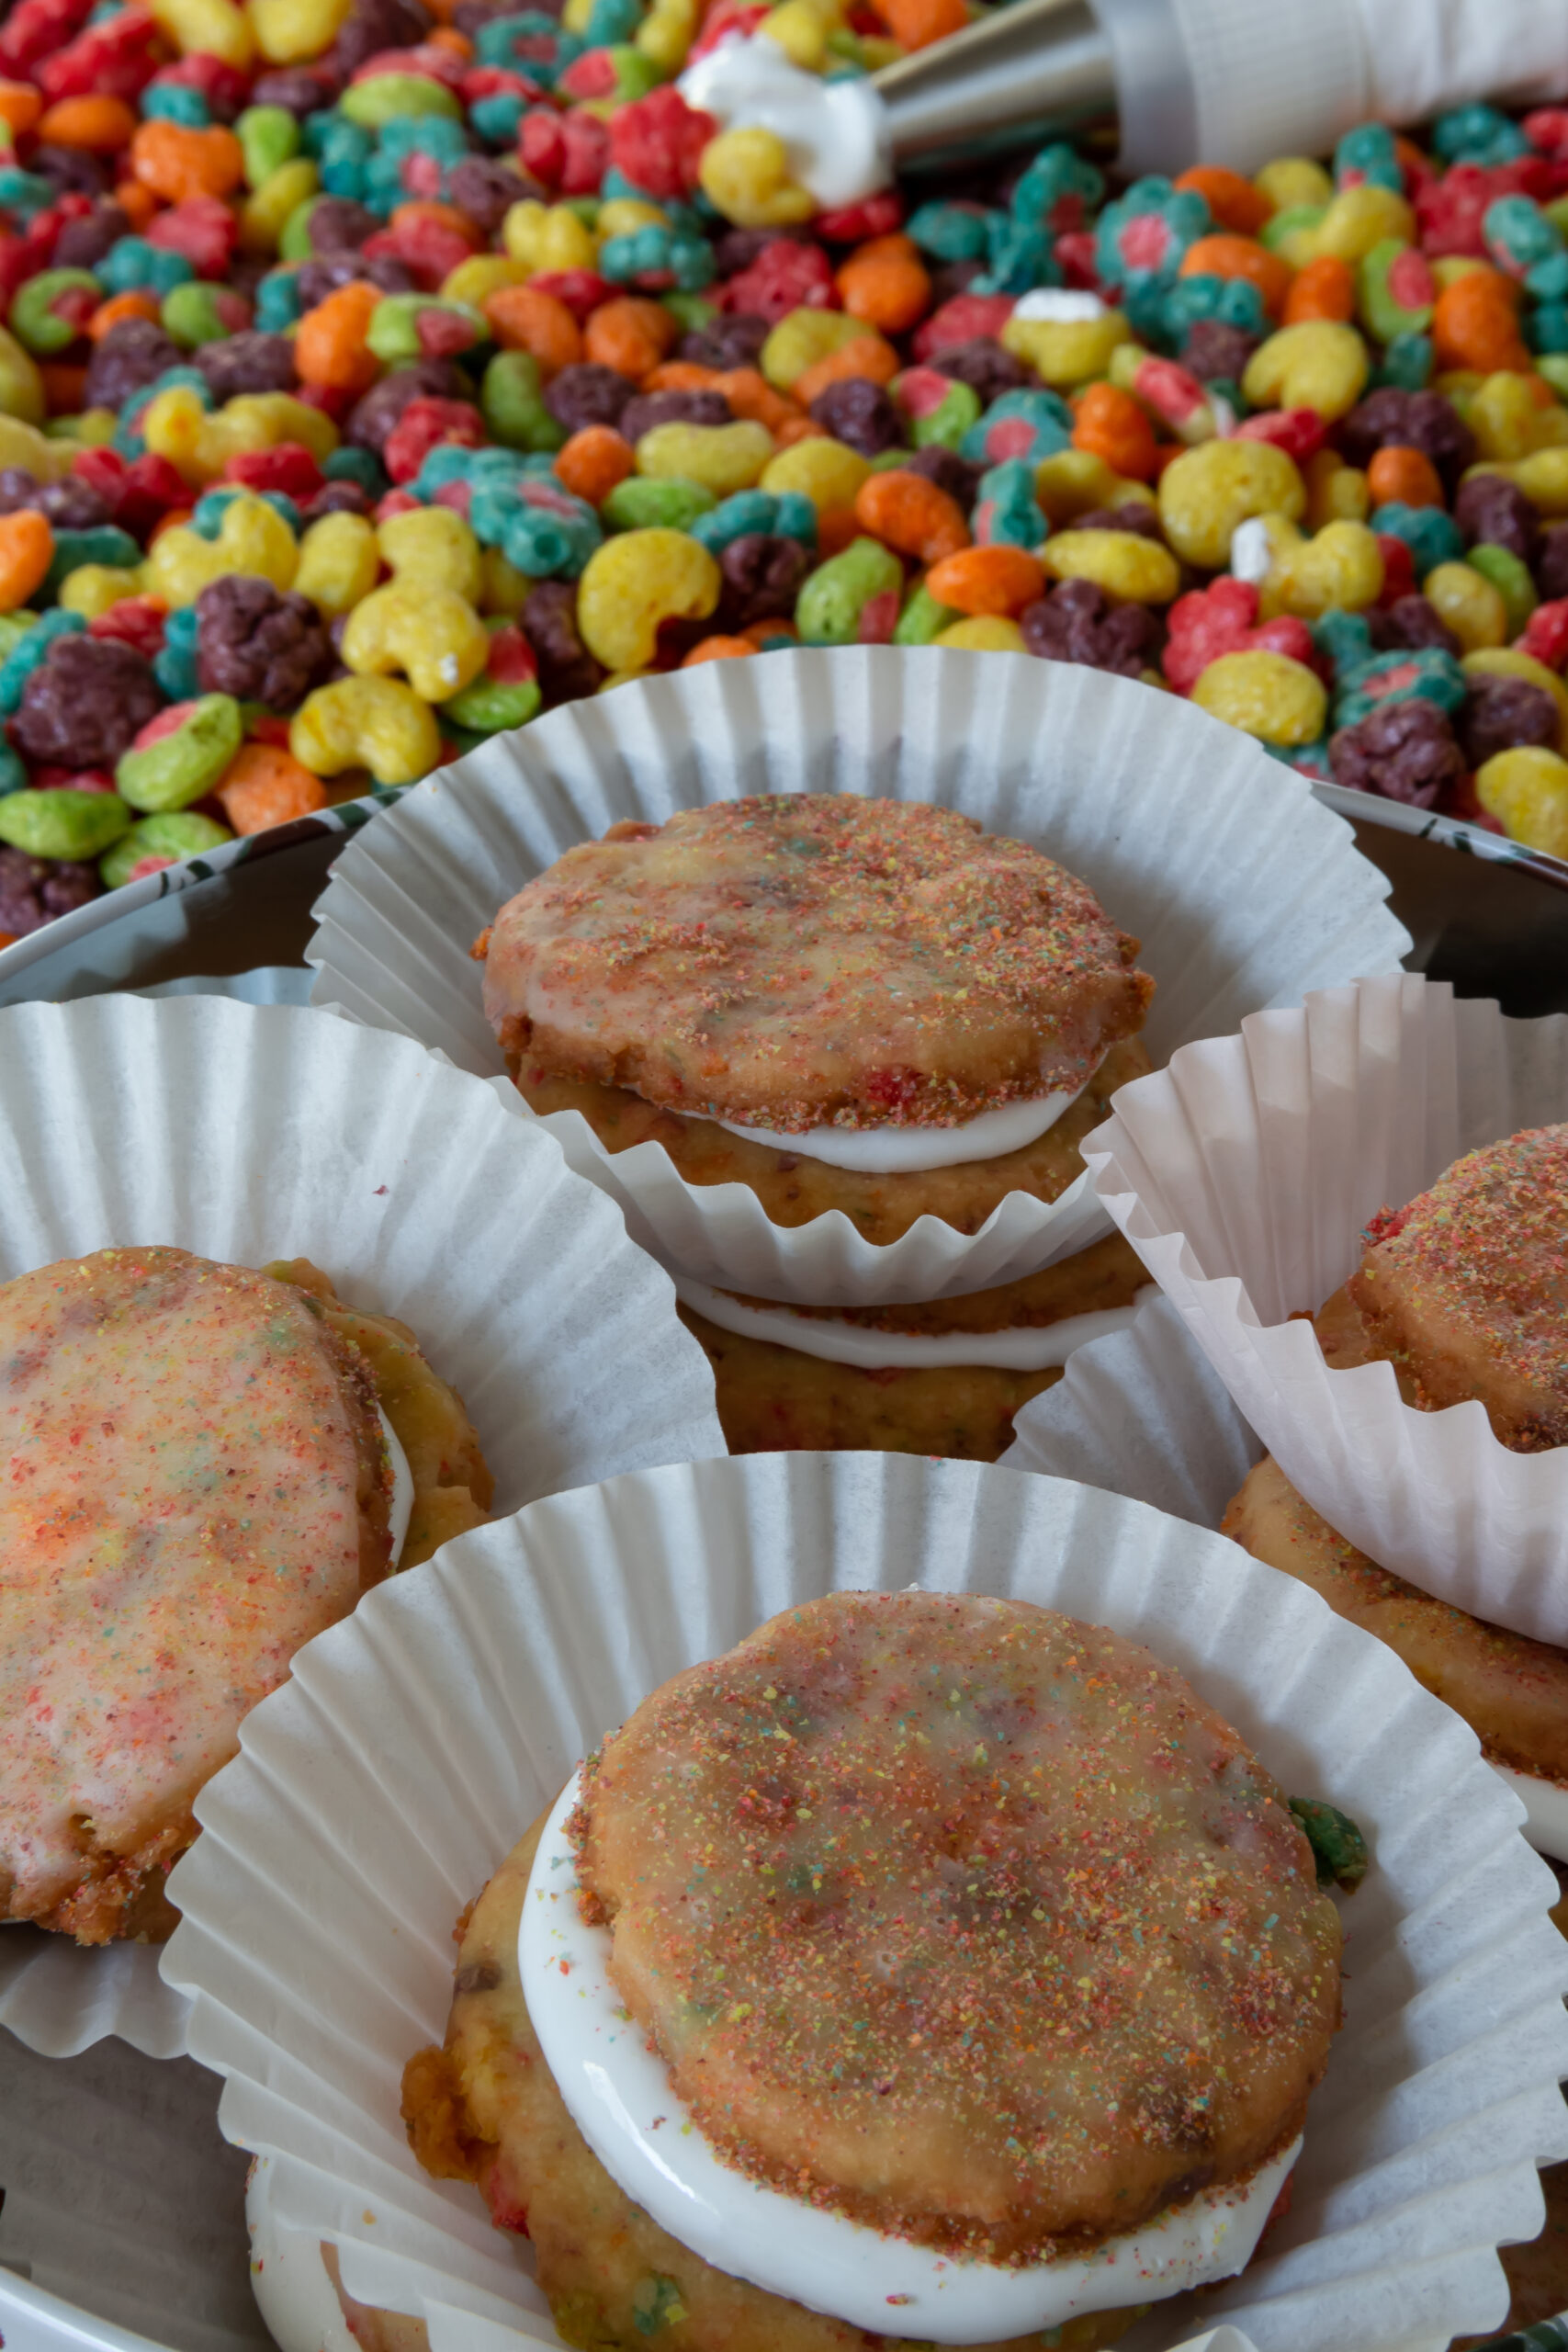
These pistachio linzer cookies with orange ginger marmalade is all you need. Period.

Sourdough Chocolate Milk bread

February 24, 2021 by Reggie Leave a Comment

sourdough chocolate milk bread

Making this Sourdough Chocolate milk bread, is equal parts fascinating and adrenaline inducing. This is all to say, that slicing a loaf and taking a look at that beautiful swirl that came from your own hands?? Priceless.

Just So You Know

chocolate milk bread

Developing the right texture

The texture of your Sourdough Chocolate Milk Bread dough is important, we want to make sure that the dough has developed enough gluten! Also if you find the science fascinating, check this out. Here is what you can do if it is going wrong:

  1. 10 minutes into kneading: The dough is still sticking heavily to the sides of the bowl – one tbs at a time, add flour until it only slightly sticks to the bottom of the bowl.
  2. 12 minutes into kneading: The dough tears easily after a little stretch – continue mixing.
  3. 15 minutes into kneading: The dough tears easily after a little stretch – rest for 10 minutes and try stretching again.
  4. If the dough continues to tear, do not continue kneading past 15 minutes. Over kneading could make the dough tough! At this point, it could be a flour issue but we won’t know for sure until the oven spring. So, let the worry go, the bread could surprise you!

What is milk bread made of

Why is this recipe in grams? Well, bread is a type A phenomenon. Measurements must be exact for science to do it’s thing! I debated adding cup measurements but I don’t want to set anyone up for a failure. I highly recommend getting a scale for your baking if you do not already have one -it will blow your mind with how easy it will be to make this sourdough chocolate milk bread. Promise!

Making the swirl

The sourdough chocolate milk bread is visually fascinating -I mean the swirl! But I don’t want you to think it is too complicated to make. Nonsense! However, if you’re a visual person then below I have embedded a clip of how the swirl should be done, enjoy my hands!

Making buns hun 

After you have formed the logs and sliced the ends, you are left with eight cinnamon roll type buns. DO NOT LET THEM GO TO WASTE. 

Allow them to rise for 30-1hr and bake at 350 degrees for 15 minutes.

sourdough milk bread

How to tell if your sourdough milk bread is done rising

Proofing is a tricky thing. You could stare down your dough while its proofing to see if it’s really tripled, or you could do the poke test. Yes, that is right, you will know when your sourdough chocolate milk bread is ready just by giving it a poke!

With a damp finger, give the dough an assertive poke. If the dough springs back right away, it is telling you to go away and let it keep resting! However, if the dough springs back slowly and your poke left a small dimple, then it’s ready to go!

Remember, it’s better to poke early then late! If the dough doesn’t spring back at all – you’ve likely over-proofed the dough.

sourdough chocolate milk bread

Sourdough Chocolate Milk Bread

Making this Sourdough Chocolate milk bread, is equal parts fascinating and adrenaline inducing. This is all to say, that slicing a loaf and taking a look at that beautiful swirl that came from your own hands?? Priceless. Take a look at the video for the shaping process!
Print Recipe Pin Recipe
Prep Time 40 minutes mins
Cook Time 35 minutes mins
Resting Time 16 hours hrs 30 minutes mins
Course Appetizer, Breakfast, Dessert, Side Dish, Snack
Cuisine American, Japanese
Servings 2 Loaves

Equipment

  • Bread pan 8 1/2" x 4 1/2"

Ingredients
  

Levain "off-shoot of your sourdough starter"

  • 58g 100% hydrated active sourdough starter
  • 94g milk at room temperature (any milk will do)
  • 170g bread flour (ap flour ok)

Milk Dough

  • ½ levain
  • 210g bread flour (ap flour ok)
  • 210g ap flour
  • 60g granulated sugar
  • 4 egg whites
  • 215g milk at room temperature (any milk will do)

Chocolate Milk Dough

  • ½ levain
  • 315g ap flour
  • 138g cocoa powder (any kind but dark or black makes a more intense dough)
  • 70g granulated sugar
  • 4 egg whites
  • 215g milk room temperature (any milk will do)

After Autolyze " resting period"

  • 7g sea salt (for one dough)
  • 52g unsalted butter melted (for one dough)

Instructions
 

Day One, Evening: "making the levain"

  • Mix your starter, milk, and flour together - it will appear like you have too much flour but this is ok! You will end with a firm ball, transfer to a bowl and cover well.
  • Place in a draft-free spot overnight.

Day Two, Evening

  • Your levain will have gloriously puffed up! Use your scale to split the levain in half, or take two large bowls and a tablespoon at a time, split between the two bowls.

Milk Bread Dough

  • Add all the ingredients except the salt and butter to your levain. You can choose to use a whole egg if you’d like to avoid the hassle but it will be more of a brioche. I’ve found that egg white allows for a fluffier bread!
  • Mix well and set aside to autolyze/rest for 30 minutes.
  • Transfer the wet dough to your stand mixer, add the melted butter and salt.
  • Set the mixer on medium speed and mix for about 14 minutes. Check the dough every 4 to 5 minutes to make sure the motor doesn’t overheat but relax -take a seat!
  • At 14 minutes the dough should be gathering around the hook and be very pliable. Pinch the dough and stretch it out, it should not tear. *See notes above if you see something different.
  • Put back in a lightly greased bowl, cover with a towel and let rise at room temperature for two hours.
  • *** Repeat steps 1- 6 for the Chocolate Milk Bread Dough

Folding

  • At the end of two hours, take each dough and pat down on a lightly floured surface, getting rid of any bubble pockets.
    folding dough step 1
  • Once you have a sort of oblong shape, pick up one of the long sides (left or right) and fold it ⅓ over the dough.
  • The second fold, take the opposite end (left or right) and fold it ⅓ over the dough as you did above!
    folding dough step 3
  • Third fold, take the short side (top or bottom) and fold it down ⅓ of the way.
  • Final fold, take the other short side (top or bottom) and fold it over the other folds. You would have made a square!
    folding dough step 5
  • Place the dough back in the greased bowl, cover and chill in the fridge overnight.

Day Three, Morning

  • Remove from the refrigerator and divide each dough into 4 pieces, leaving you with 8 pieces total. Use your scale to equally divide if you can!
  • Use a clean floured surface and roll each piece into a long rectangle.
  • Spray or use your fingers to *lightly* dab water on the top sides of the plain milk dough rectangles and place the chocolate dough evenly on top. Dampen the tops of the chocolate rectangles as well, and flatten once more with the rolling pin to elongate the rectangle. Then starting from the short end, roll it up tightly until a log is formed. ** See video above in notes.
  • With a serrated knife, saw the ends off. * See notes above about scraps.
  • Place two logs in your buttered or lined loaf pans, and let rise for 4-6 hours or until the dough has tripled. * See notes above about proofing test.
  • Bake at 350° for 35 minutes.
  • Brush tops with butter while warm.
  • Remove pan and let cool completely before slicing! Heckin' voila!
Keyword chocolate, long-ferment, milk bread, Sourdough, swirl
coconut orange sourdough cinnamon buns

Jumbo Orange Coconut Sourdough Cinnamon Buns

Looking for a different sourdough recipe? These are nothing short of incredible!

Chocolate Pear Cupcakes with Tahini Buttercream & Candied Cake Decoration

December 10, 2020 by Reggie Leave a Comment

This homemade chocolate cupcake is one of the best, most popular sweet treats for a crowd, at parties and birthdays. And even more so when it’s complemented with pear and tahini buttercream to cut the sweetness. Now I’m a fancy SOB who eats chocolate cupcakes with a candied cake decoration.

pear cupcake
Candied Cake Decoration
baked pear slices

How to Bake a Fluffy Pear Cupcake

  1. These chocolate & pear cupcakes are very fluffy- the trick is the very thin batter and the low cooking temperature. So don’t be thrown off by the watery texture!
  2. If you are using dry buttermilk, then add the dry components to the dry mix and the liquid substitute to the wet ingredients.

How to Make Tahini Buttercream Frosting For Piping

  1. For the buttercream, I noted a range of 2 ½ cups to 4 cups powdered sugar. If you want to pipe the frosting then you’ll need closer to 4 cups for structure, if you’re ok with slathering it on top, then you can stick with 2 ½ cups.
  2.  On another note, if you don’t have ready-made chai spice, I’ve added below a quick recipe to make your own.
  • 3tbsp ginger 
  • 1 1/2tsp nutmeg 
  • 1tbsp cardamon 
  • 2tbsp cinnamon 
  • 1 1/2tsp cloves
  • 1tbsp allspice 

How to Make Candied Pear Slices

  1. Bosc pears are the best choice to candy because of their prominent pear shape and because they tend to be firmer compared to other pears –so easier to slice. 
  2. You will get about 7 pretty slices to each pear, so if you’re thinking about decorating a large cake you will need about 3-4 pears. 
  3. Candied pear slices can be dried or baked. The method depends on what you’re hoping to achieve with them. 
    1. Dried pear slices will be flexible: bake at 170 degrees for three to six hours until preferred dryness. 
    2. Baked pear slices will stand up on their own: Follow the steps I outlined in the recipe!
Candied cake decoration

Chocolate & Pear Cupcakes with Spiced Tahini Buttercream

Fluffy chocolate cake with pops of bright pear that comes wrapped in a nutty tahini buttercream. And I can't forget the stunning candied cake decoration - a crisp pear slice. This is a lush cupcake, and a heckin easy recipe to boot.
Print Recipe Pin Recipe
Prep Time 45 minutes mins
Candied pears 1 hour hr 20 minutes mins
Total Time 2 hours hrs 5 minutes mins
Course Dessert
Cuisine American
Servings 15 cupcakes

Equipment

  • mandolin

Ingredients
  

Chocolate & Pear Cupcake

  • 1 cup ap flour (120g)
  • 1 cup sugar (200g)
  • 6 tbsp unsweetened cocoa powder (43g)
  • 1 tsp baking soda
  • 1/2 tsp salt
  • 1 large egg room temp
  • 1/2 cup oil (vegetable, coconut etc.) (120ml)
  • 1/2 cup buttermilk (120ml) *read afterword
  • 3/4 tsp vanilla
  • 1/2 cup hot milk or water (120ml)
  • 1 pear peeled, finely chopped

Spiced Tahini Buttercream

  • 1 cup unsaltened butter, softened (2 sticks, 226g)
  • 3/4 cup tahini, well stirred (201.1ml)
  • 2 1/2 - 4 cups powdered sugar, sifted *read afterword
  • 1 1/2 tsp vanilla bean paste
  • 2 tsp chai spice *read afterword
  • 1/4 tsp salt

Candied Cake decoration

  • 2 bosc pears
  • 1 cup sugar
  • 1 cup water

Instructions
 

Cupcake

  • Preheat oven to 300°F and prepare a cupcake pan with liners.
  • Add the dry ingredients to a large bowl and whisk them together, set aside.
  • Combine the egg, buttermilk, oil, and vanilla in another medium-sized bowl.
  • Add the wet ingredients to the dry ingredients and mix until well combined.
  • Now add the hot milk/water to the batter and mix until well combined. The batter will be thin.
  • Fill the cupcake liners about halfway and sprinkle a tbsp of the chopped pear over the top. Bake for 18-23 minutes, or until a toothpick comes out with a few moist crumbs.
  •  Remove the cupcakes from the oven and allow them to cool for 2 minutes, then remove them from the pan to a cooling rack to finish cooling.

Buttercream

  • Beat butter and vanilla bean paste until light and fluffy, about 4-5 minutes. On the lowest speed, beat in the tahini with butter until well combined.
  • Add the chai spice and the powdered sugar, a generous tablespoon at a time, beating slowly to combine. Once all the sugar is added, beat the frosting on med-high until smooth.
  • Using a frosting bag with your desired tip, pipe frosting onto each cupcake.

Candied Cake Decoration

  • Best achieved with a mandolin, slice the pears to a ¼ inch thickness.
  • Simmer equal parts sugar & water in a medium-sized pot. In batches, carefully add the pears to the pot until the slices are translucent -about a few minutes.
  • Preheat the oven to 250°f , and line your trays with parchment paper, and position the slices in neatly spaced rows.
  • Bake the slices for an hour to dehydrate and then raise the oven temperature to 350°f degrees and bake for 10 minutes to get crispy edges.
  • Use right away to decorate your cupcakes or store them in an airtight container until ready to use.
Keyword buttercream, candied cake decoration, candied pear, chocolate, cupcake, pear, tahini
cereal milk cookies

Cereal Milk Cookies

Inspired to keep baking? These homemade Milkbar Inspired Cereal Milk Cookies with cereal milk buttercream and marshmallow fluff frosting is one of the best, most popular sweet treats for a crowd, at parties and birthdays!

Email gif from OV

Sign Up For The Newsletter

The latest news, updates and more from Reggie. No spam, just the good stuff.

Privacy Policy & Terms of Service

reggiebenji

  • Home
  • Recipe developer, who?
  • Recipes
  • Blog
  • Client Inquiry Form

Recent Comments

  • Reggie on 72 Hour – Bubbly Sourdough Focaccia Bread
  • Sandra on 72 Hour – Bubbly Sourdough Focaccia Bread
  • Reggie on The Sexiest Raspberry and Chocolate Halva Brownies
  • eat chimac on The Sexiest Raspberry and Chocolate Halva Brownies

Copyright © 2023 · Pretty Creative on Genesis Framework · WordPress · Log in